
Maintained by Thor Carlson (carlsont@ptdprolog.net)
Symptoms:
![]() Heat is always on
Heat is always on
![]() Heat control knob is hard to turn
Heat control knob is hard to turn
![]() Antifreeze drips on driver's foot (left side of car)
Antifreeze drips on driver's foot (left side of car)
Cause:
These are common failure modes for the heater valve on "classic" 900 models.
The good news is the average owner/mechanic with a decent set of tools can change the valve in about two hours or less. Ywan Mason, SAAB tech extraordinaire from Townsend Imports has this down to such a science that he can replace the valve in just 20 minutes without removing the heater core.
In the Spring of 1999 I had the opportunity to change yet another heater valve, this time on my 1986 SPG, "Mjollnir". Some pictures are attached below.
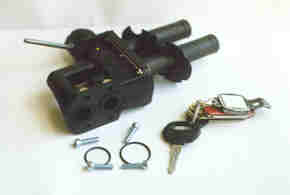
| This is what your replacement heater valve will look like, including new O-ring and allen bolts to connect it to the heater core. The metal shaft at the upper left connects to the heater control knob/rod assembly in the car. |
|
|
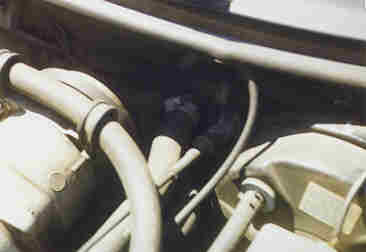
Working from the engine compartment, you'll need to drain off just a little antifreeze, then disconnect the two
heater hoses. A 7mm nutdriver works well.
The view shown is below the base of the windshield between the brake booster and the air conditioning compressor.
|
|
|
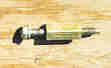
1. Remove the driver's (left) side speaker grill. Reach in and pull the heater control rod off the heater valve. Unless you use Townsend's method , you'll need to remove the knee pad below the instrument panel. 2. Remove the lower half of the plastic steering column cover (see illustration). Through '83, the screws were phillips, on my '84 and '86 cars they were Torx. |
 |
|
3. Remove the center console, if you have one. If not, just remove the ashtray.
Behind the ashtray is a 10mm retaining bolt. If you have the center console,
the bolt is the two piece assembly shown, you need to remove each piece separately.
|
|
|
4. Access and remove the two 10mm retaining studs from the engine compartment. There's one on either
side below the corner of the windshield behind the wheel well.
5. Wiggle the knee pad free, unplugging the wire to the cigarette lighter light. 6. Undo the screws (5) securing the heater duct and remove. |
|
|
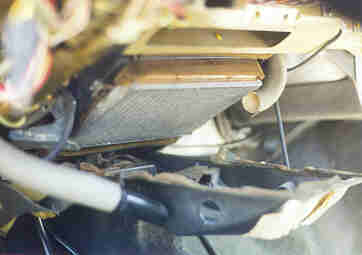
7. Unscrew the cover over the heater core to expose the core.
Assuming you've already disconnected the heater hoses, you can now gently jockey the heater core out, complete with the heater control valve attached. |
|
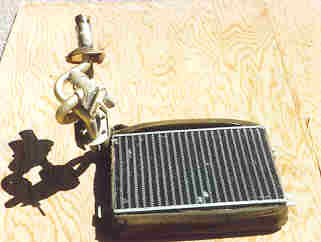
| Here's the core with the old heater valve attached. |
|
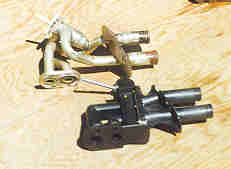
| Here are the old (metal) and new (plastic) heater valves. |
|
| After removing the old valve, I cleaned up the core's mating surface with scotchbrite. |

|
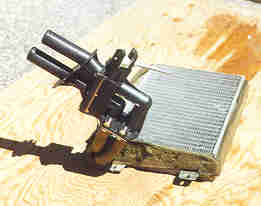
| Here's the core with the new heater valve attached. |
|
More Information:
Visit the Townsend Imports heater valve page for more information:
http://216.78.172.244/climate_control_folder/heatervalverep.htm
Parts:
Many mail order houses sell the replacement valve (around $75-$85). See the TSN Parts FAQ for vendors.
 |
 |
 |
 |
 |
